If you want to winterize outdoor taps the right way, the job comes down to three things: shut off the water inside, drain what is left in the line, and leave the tap so trapped water cannot freeze and split it. It takes about 20 minutes per tap, costs next to nothing, and it is one of the cheapest ways to avoid a flooded basement in Ajax this winter.
Below is the exact process we use in Ajax and Durham Region homes, plus how to tell what kind of outdoor tap you have, what to do if there is no shut-off valve, and how to check for a hidden leak when spring comes around.
In this guide:
- Why you need to winterize outdoor taps
- When to do it
- Standard or frost-free outdoor tap?
- How to winterize outdoor taps in 7 steps
- No shut-off valve inside?
- What to do if a pipe freezes
- Spring start-up and leak checks
- Frequently asked questions
Why You Need to Winterize Outdoor Taps in Ajax
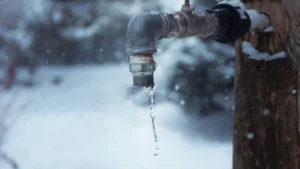
An outdoor tap (also called a hose bib or sillcock) runs through your exterior wall. The part outside sits in the cold all winter. If water is still sitting in that pipe when temperatures drop, it freezes and expands. Ice does not care how solid the copper looks. It will split the pipe or crack the valve body.
The tricky part is that you usually do not find out right away. A frozen pipe often cracks inside the wall, where you cannot see it. Then the first warm day in April, someone hooks up the hose, turns the tap on, and water pours into the basement ceiling or behind the drywall instead of out the spout.
Here is why it matters so much:
- The damage is hidden. A split line can leak inside the wall for hours before anyone notices.
- The repair costs far more than the prevention. Draining a line is free. Opening a finished basement ceiling, drying it out and replacing drywall is not.
- Ajax winters are long enough to do real harm. Even with milder days near the lake, we still get weeks of overnight lows well below zero.
When Is the Best Time to Winterize Outdoor Taps?
Do it before the first hard freeze, not after. In Durham Region the first frost often arrives in October, and by mid-November most nights are flirting with zero. A good rule of thumb is to have every outdoor tap shut off and drained by the middle of November, or sooner if the forecast shows several nights in a row below freezing.
If you are reading this and it is already December, do not panic. Go do it today. A tap that has made it through a few cold nights is not always damaged, and draining it now still protects it from the deep cold of January and February.
Standard or Frost-Free Outdoor Tap? How to Tell
Before you start, it helps to know which kind of outdoor tap you have, because the steps are slightly different.
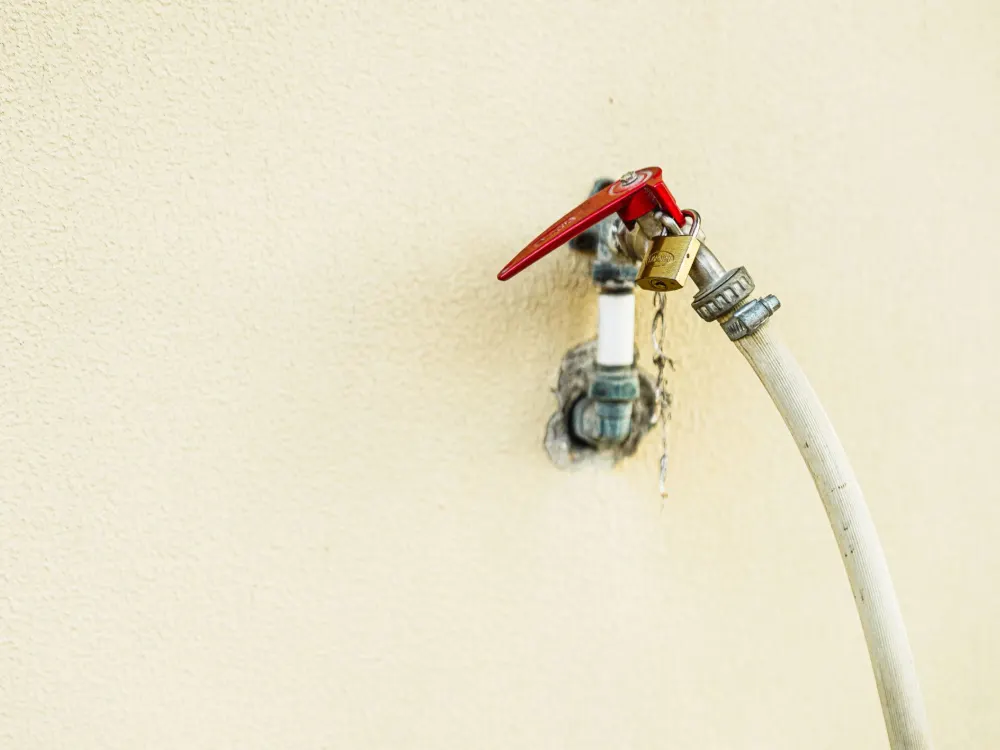
Standard outdoor tap: The valve that stops the water sits right at the tap, outside the house. Water fills the pipe all the way to the outside wall. These taps must be shut off from inside and drained every fall. Older homes often have this type.
Frost-free outdoor tap: The handle is outside, but the actual valve sits at the end of a long stem, 15 to 30 cm inside the heated part of the house. When you close it, the water stops inside where it stays warm. Many newer homes in Ajax have these.
A quick way to check: go to the basement and look at the pipe that feeds the outdoor tap. If the pipe connects to a long metal body that runs into the wall, it is likely frost-free. If you see a separate small shut-off valve on the pipe a short distance from the wall, you probably have a standard tap. When in doubt, treat it like a standard tap. The extra steps take five minutes and do no harm.
What You Will Need
- A bucket and an old towel
- A flashlight for the basement
- A small adjustable wrench or pliers, in case the bleeder cap is tight
- An insulated outdoor tap cover (about $5 to $10 at most hardware stores)
That is it. No special tools and no chemicals. Never pour antifreeze into a household water line.
How to Winterize Outdoor Taps: 7 Simple Steps
These steps are for a standard outdoor tap with a shut-off valve inside. If you have a frost-free tap, follow steps 1, 4 and 7, then read the next section.
1. Disconnect and drain the hose
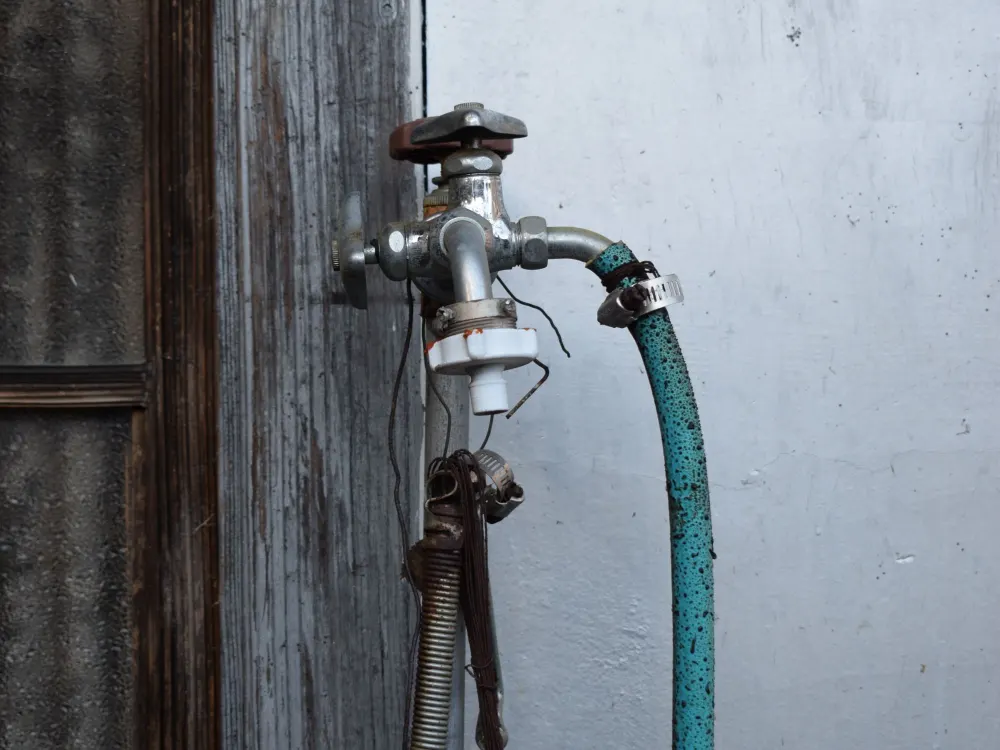
Unscrew the garden hose from the outdoor tap. This step matters even on frost-free taps, because a connected hose traps water in the tap and stops it from draining. Lay the hose out on a slope to empty it, coil it up and store it in the garage or shed so it does not crack over winter.
2. Find the shut-off valve inside
Head to the basement and find the spot on the inside wall that lines up with the outdoor tap. Follow the pipe back from there. The shut-off is usually within a metre or two of the wall, often tucked up between the floor joists. It may be a round handle or a small lever. In some finished basements it hides behind a ceiling tile or a small access panel.
3. Turn the valve off
Turn a round handle clockwise until it stops. For a lever, turn it so it sits across the pipe instead of along it. If the valve will not move, do not force it with a big wrench. Old valves can snap or start leaking at the stem. That is a good time to call for help instead.
4. Open the outdoor tap
Go back outside and turn the outdoor tap fully on. You will hear a little water and air come out, then it should stop. If water keeps flowing steadily after a minute, the inside valve is not fully closed or it is worn out.
5. Drain the line with the bleeder cap
Back in the basement, look for a small brass cap on the side of the shut-off valve. This is the bleeder cap. Put the bucket under it, then slowly unscrew the cap. Water left in the pipe between the valve and the outside wall will drain out. With the outdoor tap open, air can get in and the line empties fully. Once it stops dripping, screw the cap back on snug.
No bleeder cap? Some valves do not have one. In that case, leave the outdoor tap open and let the line drain out through the tap as best it can. Ask a plumber to swap in a valve with a bleeder next time any work is done nearby.
6. Leave the outdoor tap open for the winter
For a standard tap, leave it in the open position all winter. If any water is left, or if the inside valve lets a few drops by, it has room to expand or drip out instead of building pressure inside the pipe.
7. Add an insulated cover
Slip an insulated foam cover over the outdoor tap and tighten the loop around it. It is not a replacement for shutting the water off, but it adds a layer of protection against wind and deep cold. It also makes it easy to see from the yard that the tap has been done for the season.
If You Have a Frost-Free Outdoor Tap
Frost-free taps are built to handle winter, but only if they can drain. The most common way they fail is a hose left attached over winter. Water gets trapped in the long stem, freezes, and splits it inside the wall. The tap still looks fine from outside, so the leak is not found until spring.
For a frost-free outdoor tap:
- Disconnect the hose.
- Open the tap for a few seconds to let the stem drain, then close it.
- Check that the tap slopes slightly down toward the outside so water does not sit in the stem.
- Add an insulated cover if your tap faces north or gets a lot of wind.
If your house also has an inside shut-off for a frost-free tap, turning it off is a sensible extra step, especially if you are away for long stretches of the winter.
What If There Is No Shut-Off Valve Inside?
This is more common than people expect, especially in homes where the basement was finished after the plumbing went in. If you cannot find a separate valve for the outdoor tap, you have a few options:
- Look again behind panels. Check behind ceiling tiles, inside closets on that wall and behind the furnace room door.
- Protect the tap from outside. Disconnect the hose, open and close the tap to drain what you can, and add an insulated cover. This lowers the risk but does not remove it.
- Have a shut-off added. Installing a proper valve with a bleeder cap, or replacing the old tap with a frost-free model, is a short job and fixes the problem for good.
Turning off the main water to the whole house is not a practical winter solution, so a dedicated valve is the way to go.
Other Outdoor Water Spots to Check
Outdoor taps are the big one, but they are not the only place water can freeze around the outside of your home:
- Garage taps and pipes: Keep the garage door closed as much as possible if there are water lines inside, and drain any tap that runs through an exterior garage wall.
- Underground sprinkler systems: These need to be blown out with compressed air before winter. If you have one, book your irrigation company before the ground freezes.
- Rain barrels: Empty them, disconnect them from the downspout and store them upside down or indoors.
- Pipes along outside walls: Pipes running through unheated spaces or exterior walls can freeze too. Foam pipe insulation from the hardware store is cheap and easy to put on.
What to Do If an Outdoor Tap or Pipe Freezes
Signs of a frozen line include no water when you open a tap, frost on a pipe in the basement, or a bulge in the pipe. If you think a pipe is frozen:
- Turn off the shut-off valve for that line if you can reach it.
- Open the tap so melting water has somewhere to go.
- Warm the pipe slowly with a hair dryer, a heating pad or warm towels. Start closest to the tap and work back.
- Never use a torch, propane heater or any open flame. The City of Toronto’s frozen pipe guide warns that open flames are a fire and carbon monoxide hazard, and the same advice applies here in Durham.
Thawing can take a while. If the pipe is split or water starts dripping once it thaws, shut the valve and call for help. Small leaks get bigger fast once the pressure is back on.
Spring Start-Up: How to Check for a Hidden Leak
When the frost is out of the ground and nights stay above zero, usually in April, you can turn your outdoor taps back on. Do it slowly and pay attention for the first few minutes:
- Close the outdoor tap.
- Open the inside shut-off valve.
- Go back inside and watch the pipe and the wall behind the tap for a minute or two.
- Open the outdoor tap with a hose attached and spray for a bit. Then check the basement again.
Water on the basement floor, damp drywall, a wet spot on the ceiling under the tap or weak pressure at the hose are all signs the tap or pipe split over winter. Turn the inside valve off right away and get it repaired before you use it again.
Going Away for Part of the Winter?
If you head south for a few weeks or spend time at a cottage, take a few extra minutes before you leave. Make sure every outdoor tap is shut off and drained, set the thermostat no lower than about 15°C, and open the cabinet doors under sinks on outside walls so warm air can reach the pipes. Ask a neighbour or family member to check the house every few days, and let them know where the main water shut-off is. Many home insurance policies in Ontario also expect someone to check on the house regularly while you are away, so it is worth reading your policy before you go.
A quick way to remember it: shut off, drain, open, cover. If you winterize outdoor taps with those four words in mind, you have covered the steps that matter most.
When to Call a Pro
Most people can winterize outdoor taps themselves in a few minutes. It makes sense to call for help if:
- The shut-off valve is seized, leaking or missing.
- Water keeps running from the outdoor tap after the inside valve is closed.
- You find a crack, a drip or a wet spot in spring.
- You want to replace an old standard tap with a frost-free one.
Our team handles water leak repair, outdoor and indoor faucet repair and general plumbing repair in Ajax, Pickering, Whitby and Oshawa. If you are already getting the house ready for the cold, our winter home maintenance checklist covers the rest of the list. You can also call us any time at (437) 476-0410. We are open 24/7.
Frequently Asked Questions
Do I need to winterize a frost-free outdoor tap?
Yes, but it is quicker. Disconnect the hose, open the tap for a few seconds to let the stem drain, then close it. A hose left attached is the most common reason frost-free taps split over winter.
Should outdoor taps be left open or closed in winter?
For a standard tap, shut the inside valve, drain the line and leave the outdoor tap open all winter. For a frost-free tap, drain it and then close it.
When should I winterize outdoor taps in Ajax?
Before the first hard freeze. In Durham Region that usually means by mid-November, or sooner if the forecast shows several nights in a row below 0°C.
Is an insulated tap cover enough on its own?
No. A cover helps against wind and deep cold, but water left in the pipe can still freeze. Always shut off and drain the tap first, then add the cover.
How do I know if my outdoor tap pipe burst over winter?
Watch for water in the basement, damp drywall or a wet ceiling near the tap, or weak flow from the hose when you turn it back on in spring. Shut the inside valve right away if you see any of these.
Can you install a frost-free outdoor tap in my Ajax home?
Yes. Replacing an old standard tap with a frost-free one, or adding a proper shut-off valve inside, is a short job. Call (437) 476-0410 for an upfront price.